Getting Started with StarYard
StarYard matches your telescope and camera setup against your observing site and date, giving you a ranked list of targets actually worth shooting that night. It factors in real physical obstructions with an uploaded panoramic photo, moon phase, and sensor framing. It works for visual observing too, though it's currently built with astrophotography in mind.
Everything runs locally in your browser. There are no accounts to create, and your data stays on your machine. Details are in the privacy policy.
1. Add your location
Head to Locations and add a location where you shoot such as your backyard. You can add as many sites as you want.
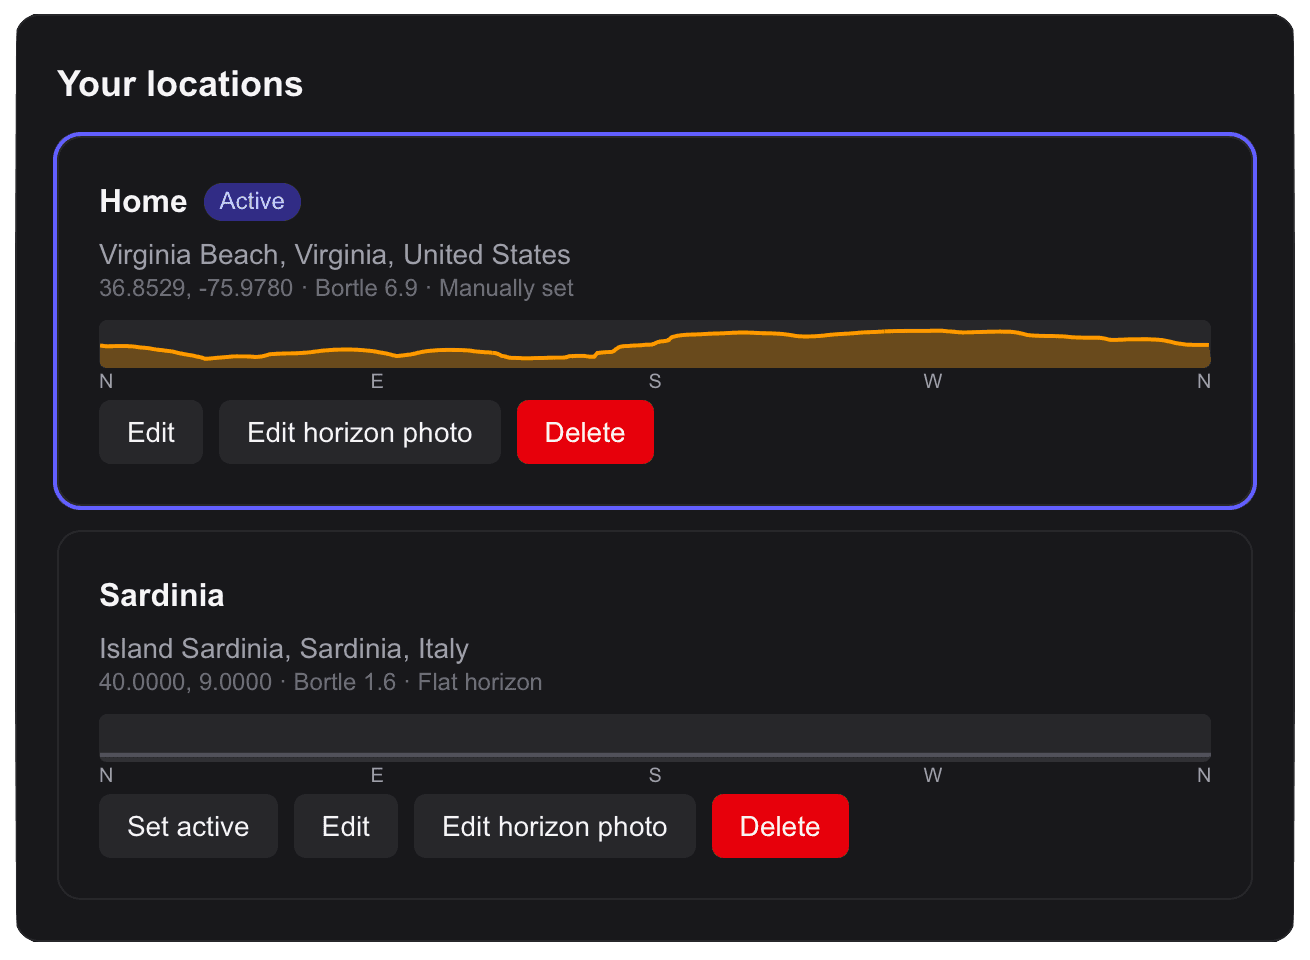
Coordinates alone aren't enough for backyard imaging. StarYard uses two other inputs about your location that make a different with its recommendations:
-
Custom horizon: Trees, rooflines, and fences usually dictate what you can actually shoot. Uploading a custom horizon lets StarYard calculate exactly when a target enters and exits your clear sky. If you have a lot of tall trees like I do it can be a lifesaver!
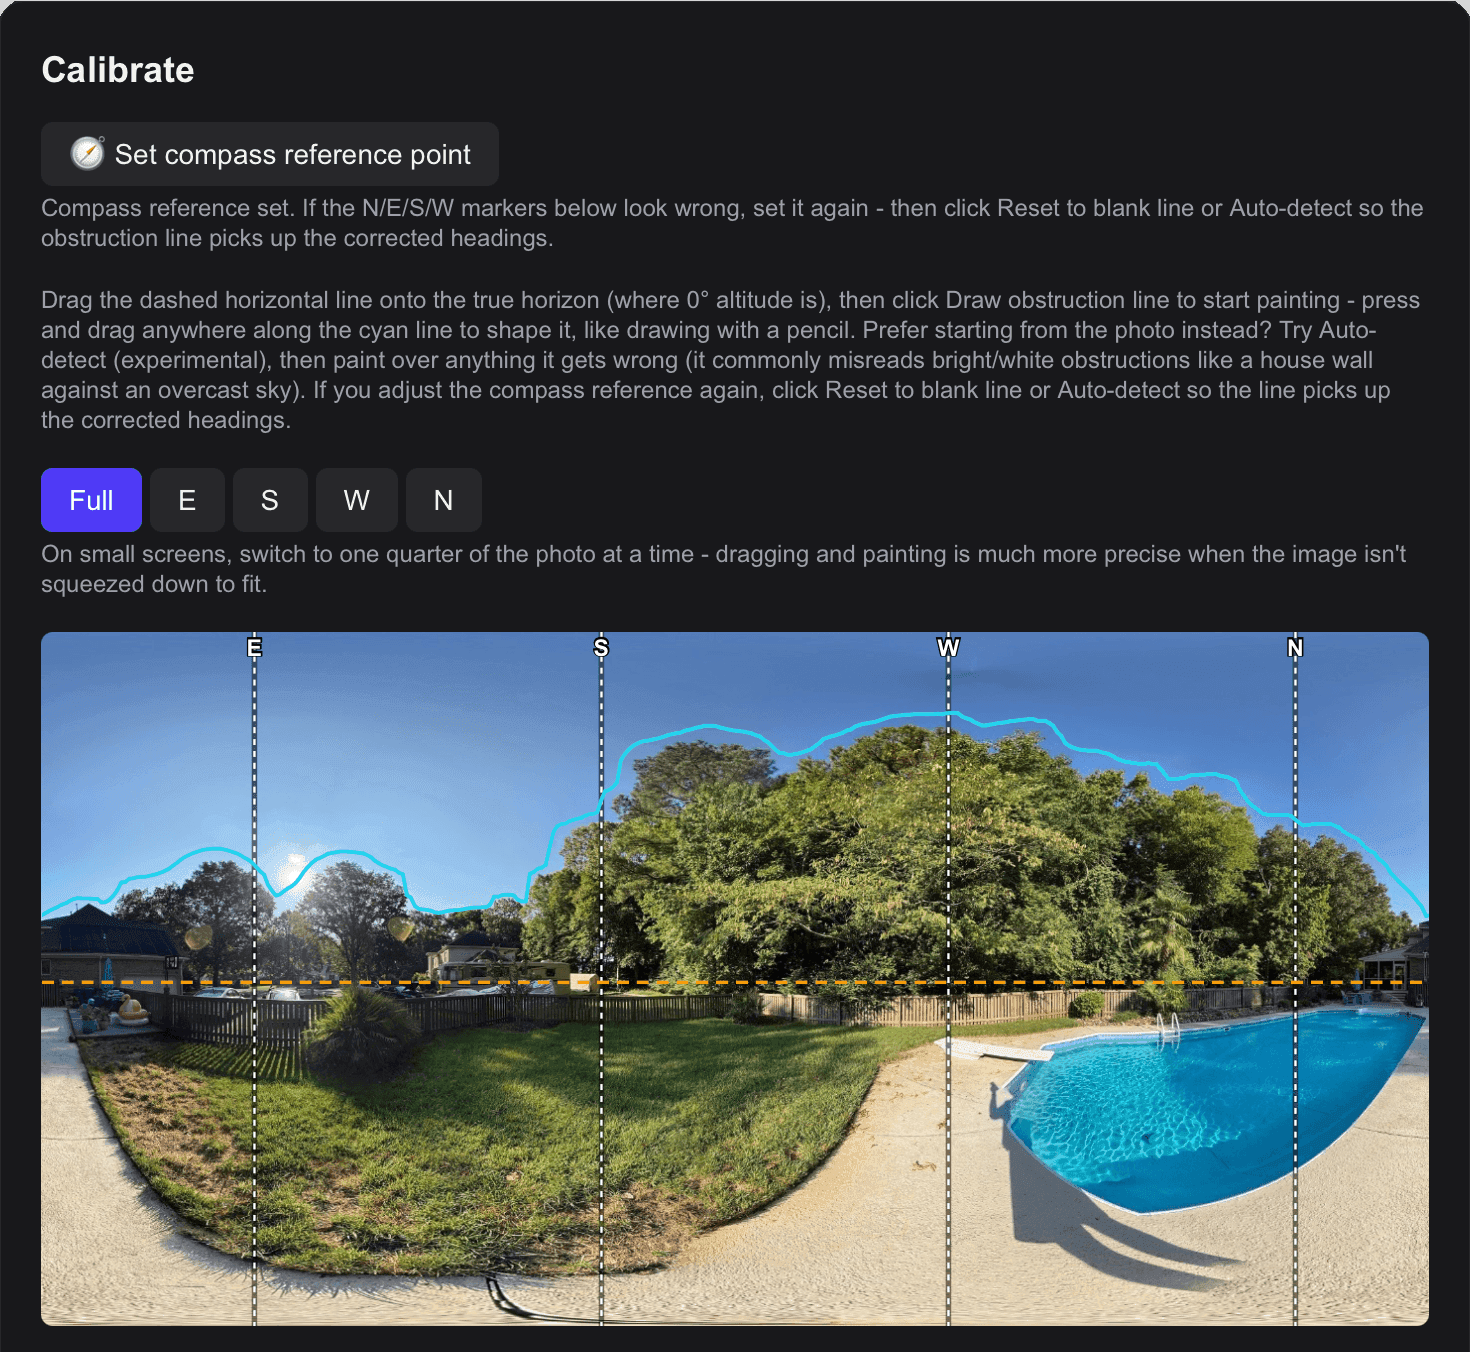
- Click Edit Horizon Photo and drop in a 360° panorama of your yard (stitched via apps like Teleport 360). Like everything else, this image is processed locally and never leaves your browser.
- Click Set Compass Reference Point and click a known cardinal direction in the photo.
- Draw your obstruction boundary line and save.
- Drag the baseline level to your true zero-degree horizon if your shot isn't centered vertically.
-
Bortle class: StarYard estimates light pollution automatically via satellite data. If you have an SQM meter or know your site behaves differently, just override it here. Read Reading a Bortle Scale if you need a refresher.
2. Add your equipment
Go to Equipment and build a profile for the equipment you have.
A profile requires your telescope's aperture and focal length, plus your camera's sensor specs. This lets StarYard calculate true field of view and resolution instead of just checking if an object is above the horizon. Save separate profiles if you run multiple setups (like a wide-field refractor vs. an SCT).
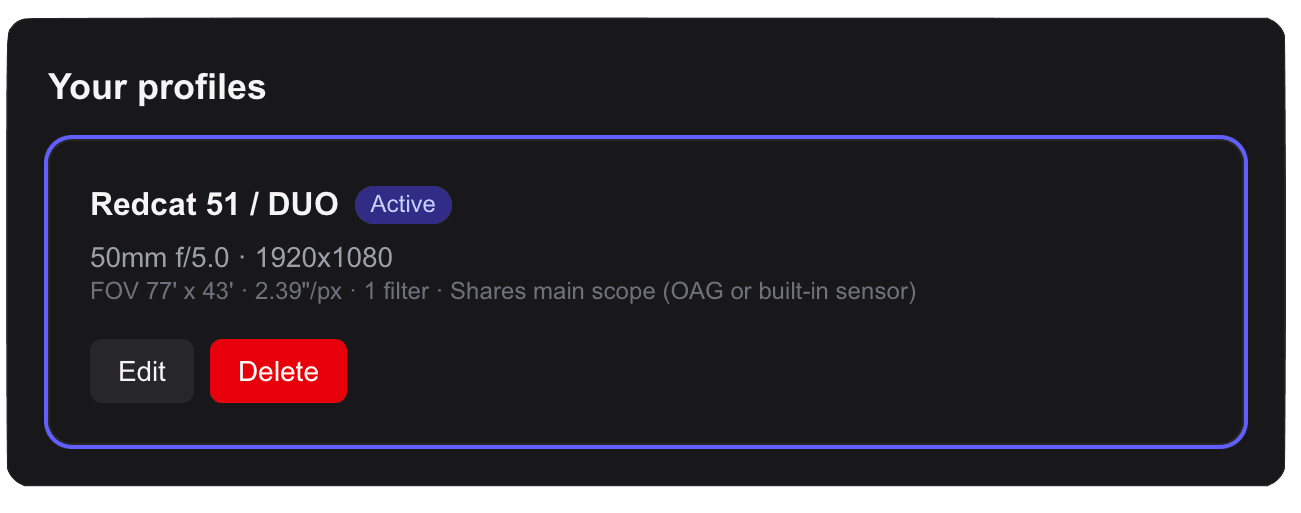
Pick from the database of common OTAs, dedicated astro cameras, and smart scopes, or punch the specs in manually.
If you shoot with specific filters (narrowband, dual-band) or a dedicated guiding rig, check those boxes. The engine uses them to flag targets that require long-exposure stability or specific bandpasses.
3. Set your session
On Session, select your date and saved location.
Set your minimum altitude. The default is 20°. Anything lower usually suffers from heavy atmospheric turbulence and sky glow.
4. Work through your results
Open Results to see that night's ranked target list. You can switch setups or locations from the top bar to watch the recommendations recalculate instantly.
The weather gate
Before digging into targets, check the forecast banner.
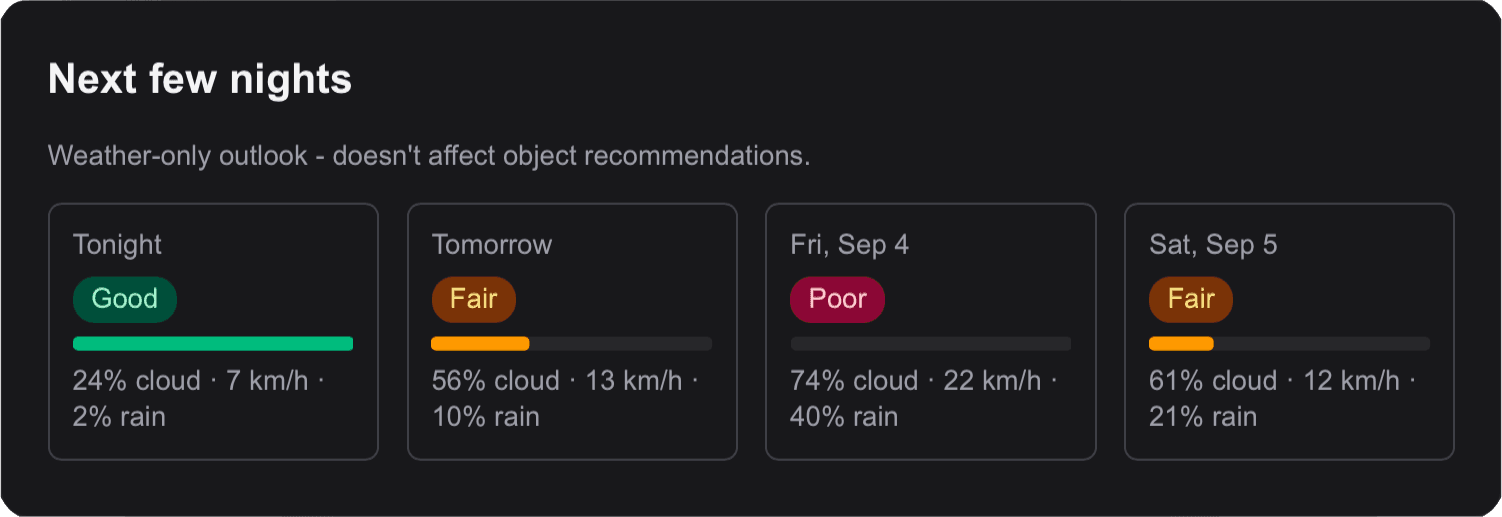
The overview ranks upcoming nights as poor, fair, or good based on cloud cover, rain risk, wind, and moon illumination. Seeing and transparency are included when atmospheric model data is available.
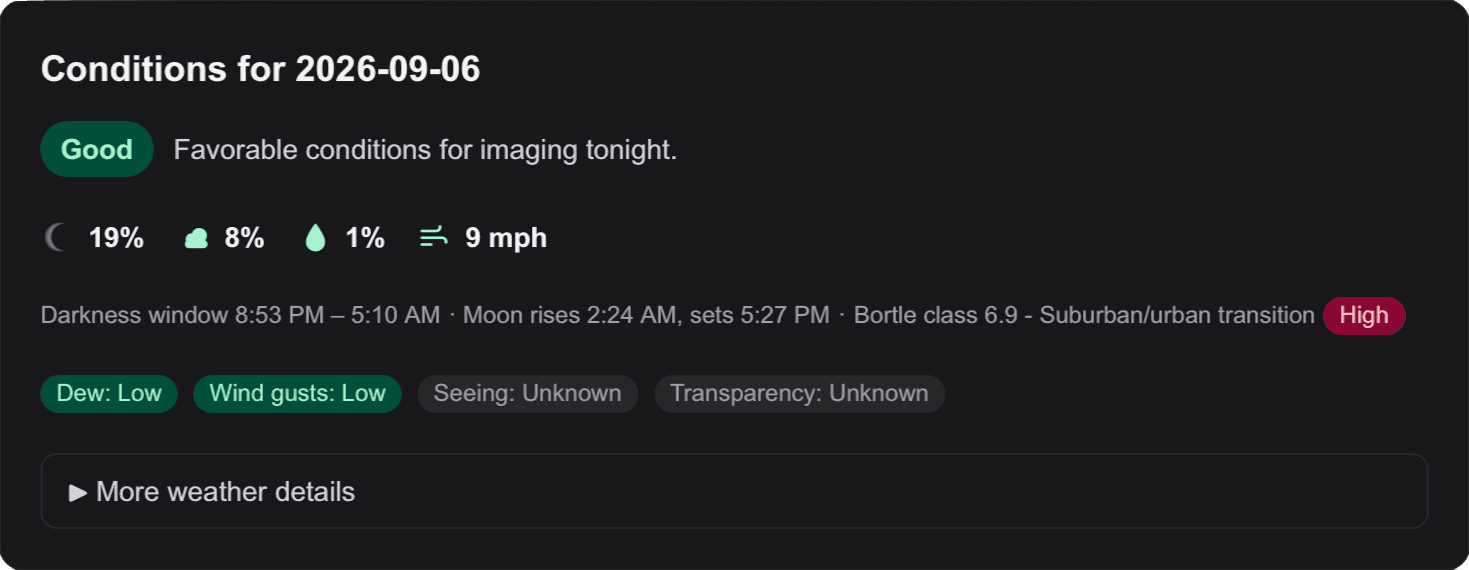
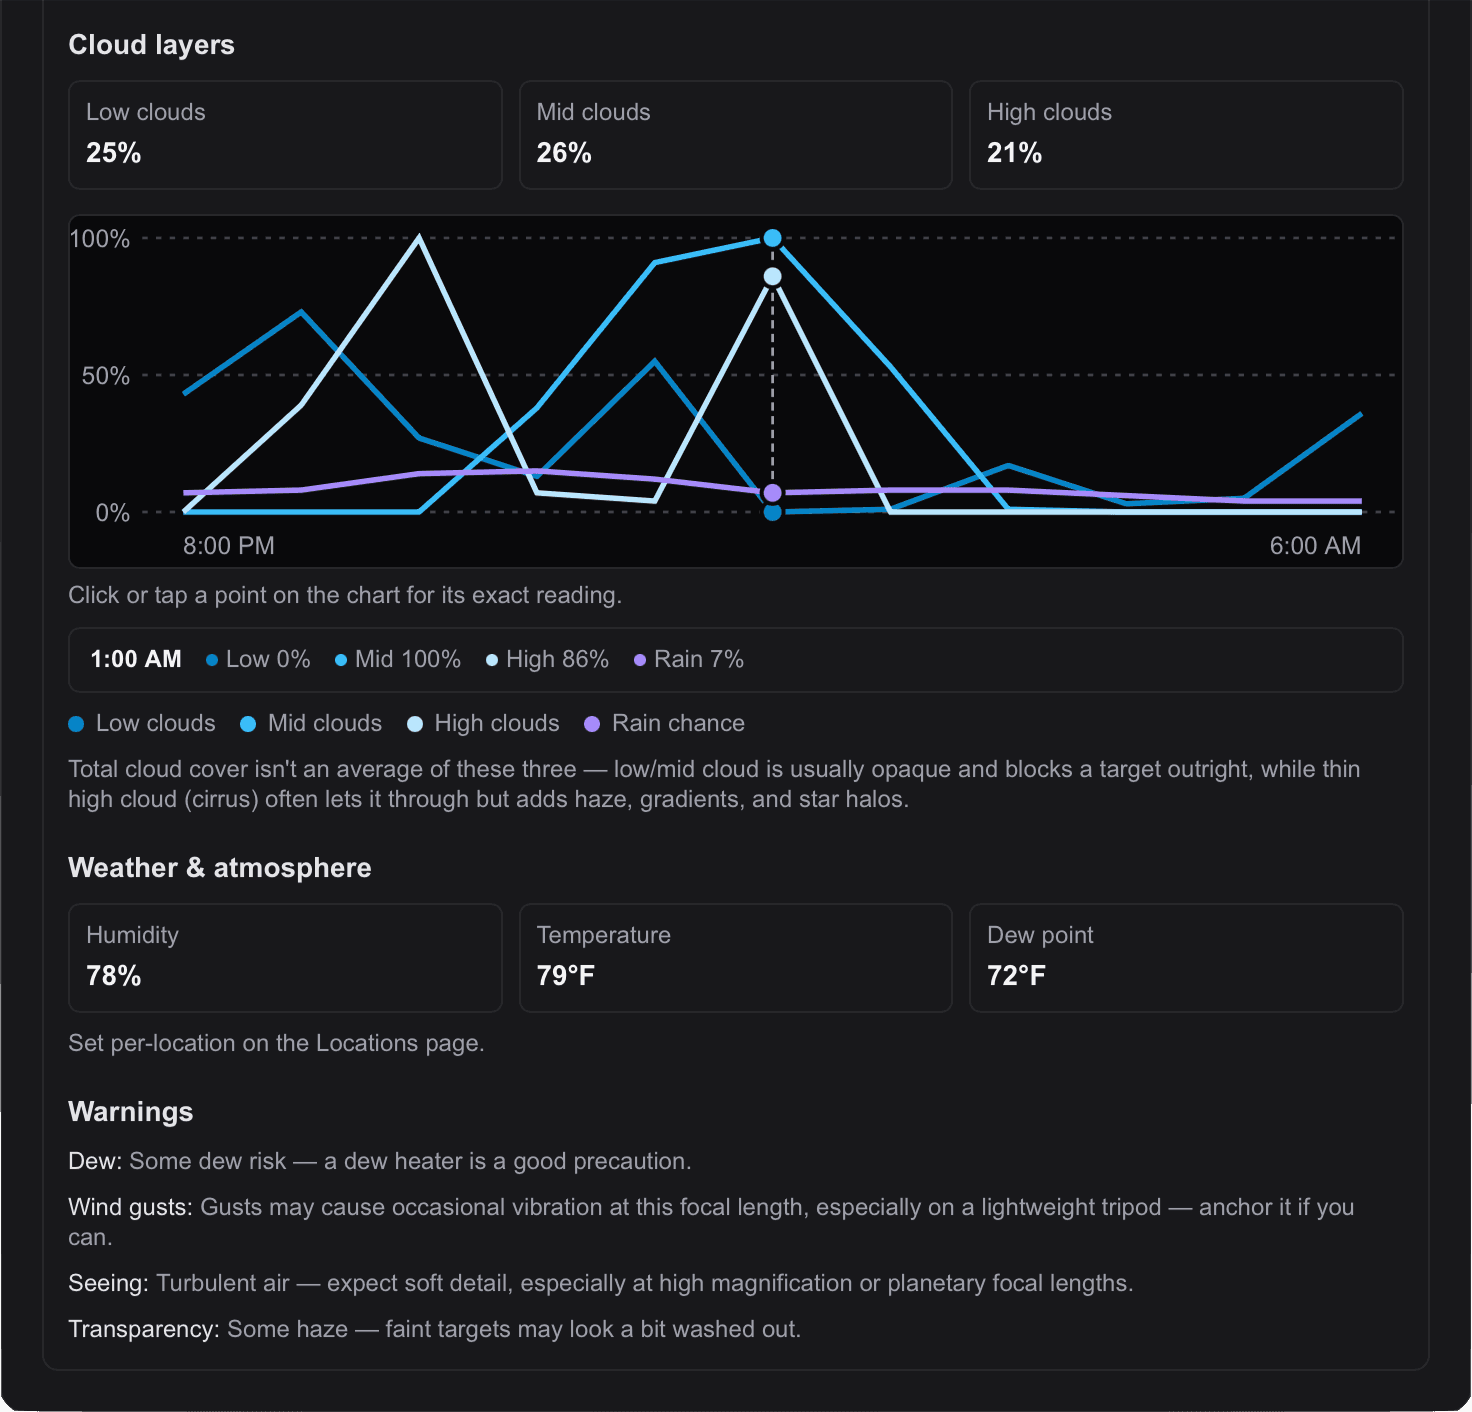
Click More Weather Details to open the hourly breakdown for dew point, humidity, and high/mid/low cloud layers. Note that weather acts as a manual go/no-go gate. It does not alter target scores, though the moon phase does.
Picking a target
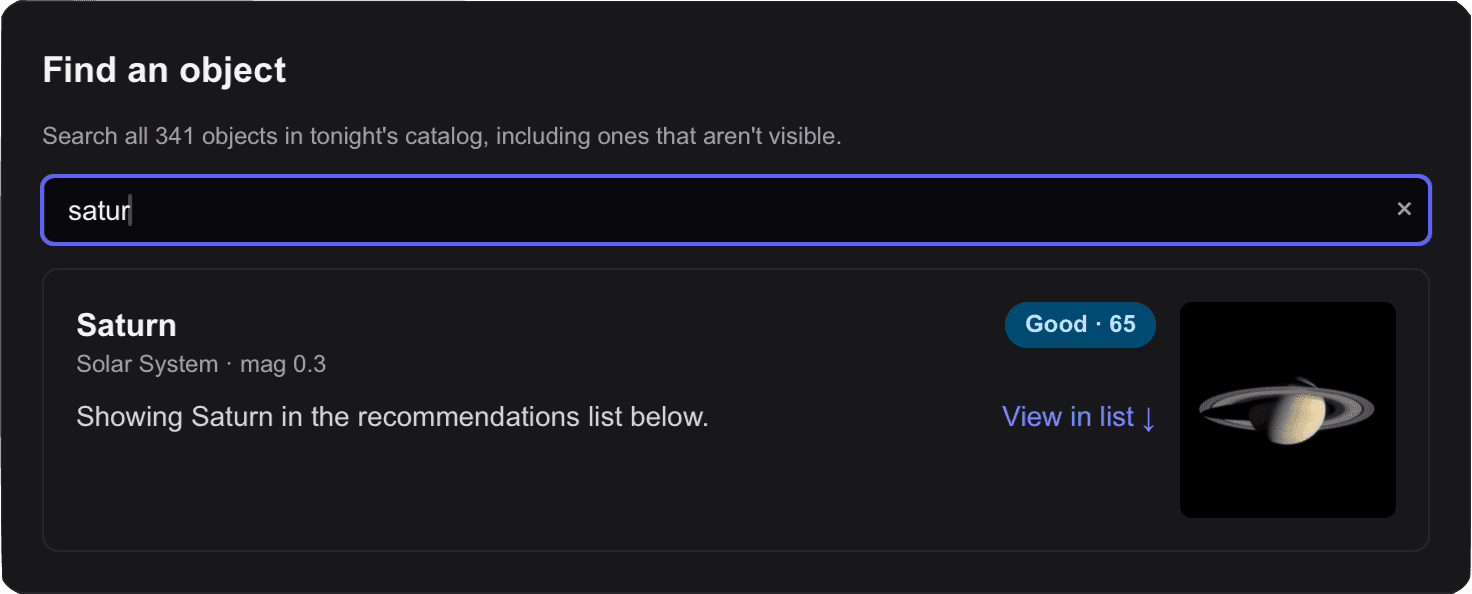
Search for specific catalog items directly or scroll the ranked list.
Each card surfaces the critical session data upfront:
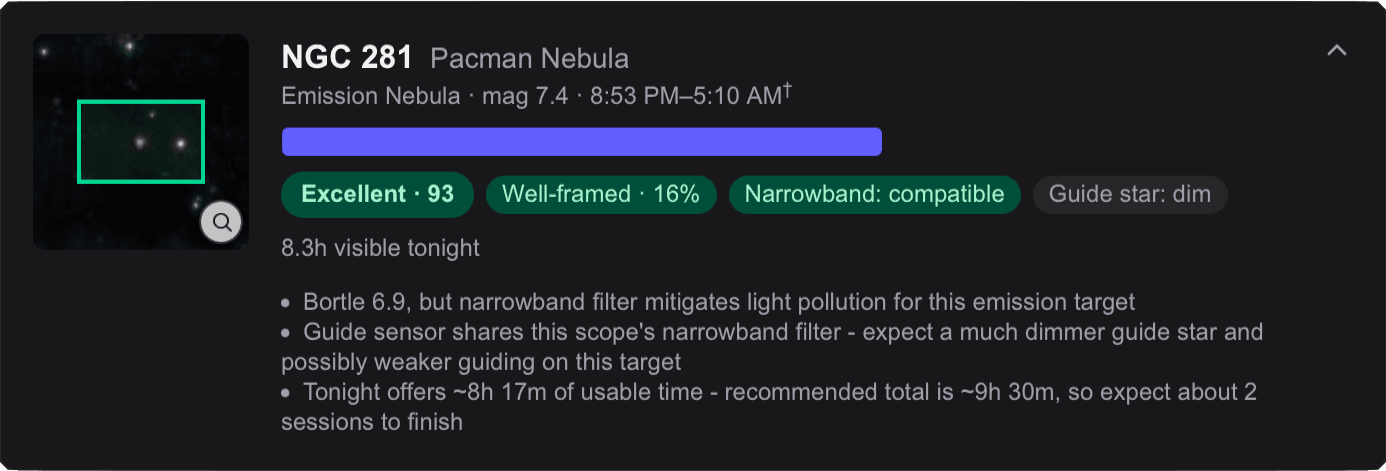
- Score: Composite rating based on altitude, moon separation, and target brightness. (See How Scoring Works).
- Frame coverage: How the object fits your sensor at your current focal length.
- Imaging window: Total usable time above your custom horizon during full darkness.
- Hardware notes: Warnings for narrowband suitability or guiding requirements.
Framing and pathing
Click an object card to inspect it:
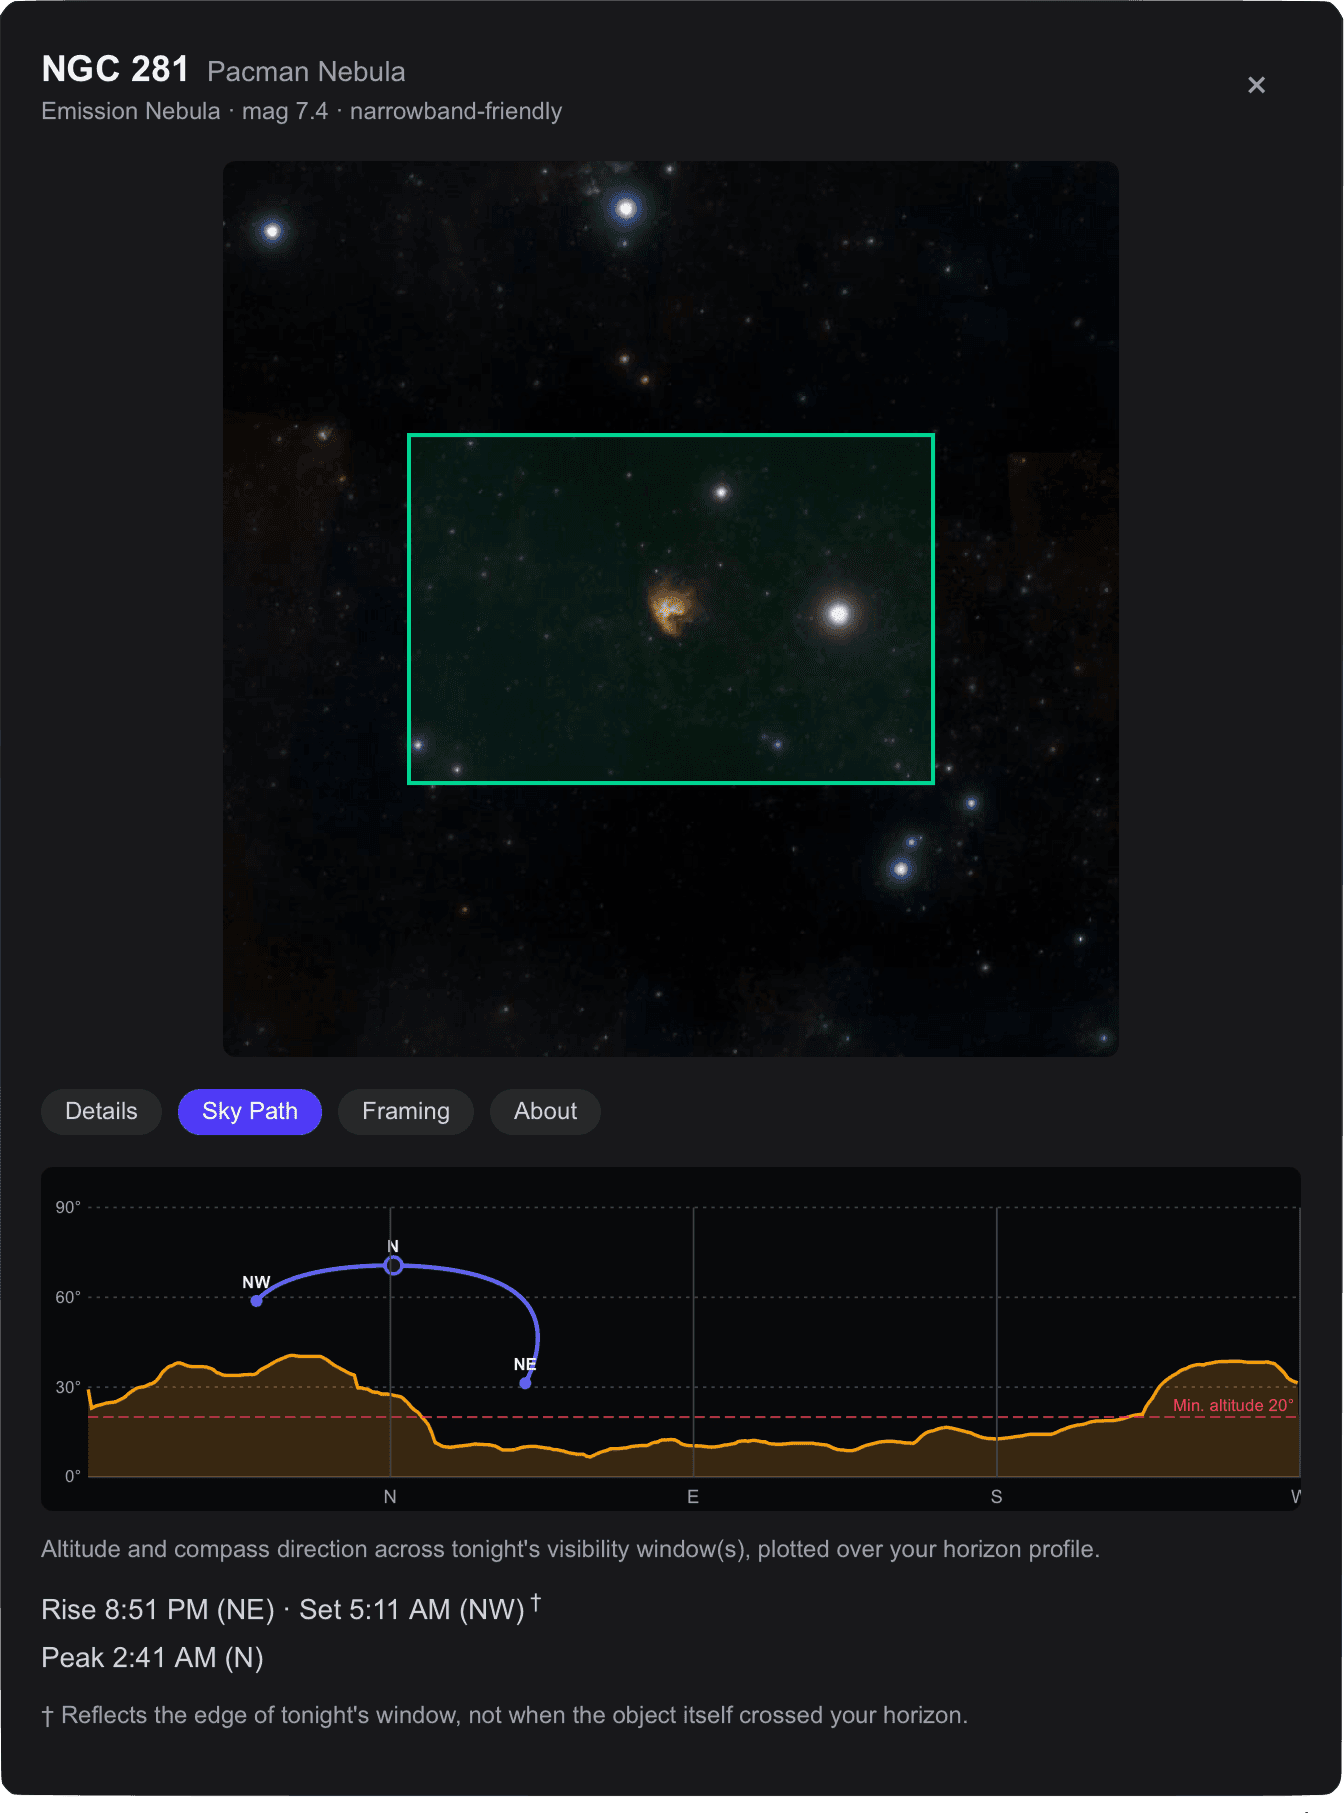
- Sky Path: Plots the object's trajectory against your local darkness window and custom horizon line.
- Framing: Previews your sensor's field of view over deep-sky survey imagery. Rotate the frame to check composition before setting your camera angle in N.I.N.A., ASIAIR, or your capture suite.
Once your location and gear profiles are saved, you won't need to touch them again. Future runs just require opening Session, picking the night, and checking your list.